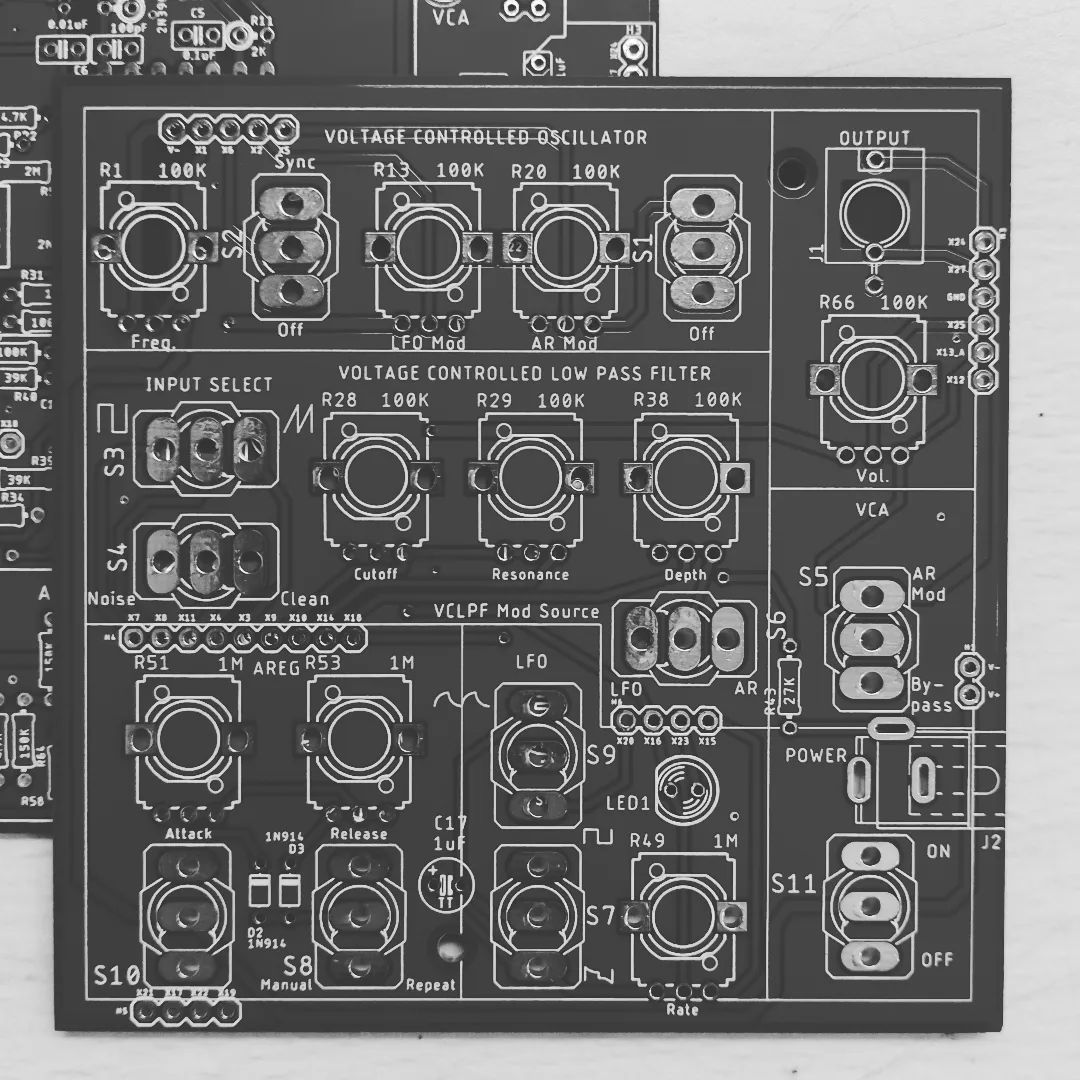
The Noise Toaster is a Lo-Fi analog synthesizer designed by the late Ray Wilson of Music from Outer Space. The project is covered in Wilson’s excellent book “Make: Analog Synthesizers” as an ideal starting point in the world of Synth DIY. As I have been learning about the basics of synthesizer circuits, I decided to build my own version of the Noise Toaster as a first synth project.
Noise Toaster Lo-Fi Synth Block Diagram
The Noise Toaster consists of 6 classic analog synth building blocks:
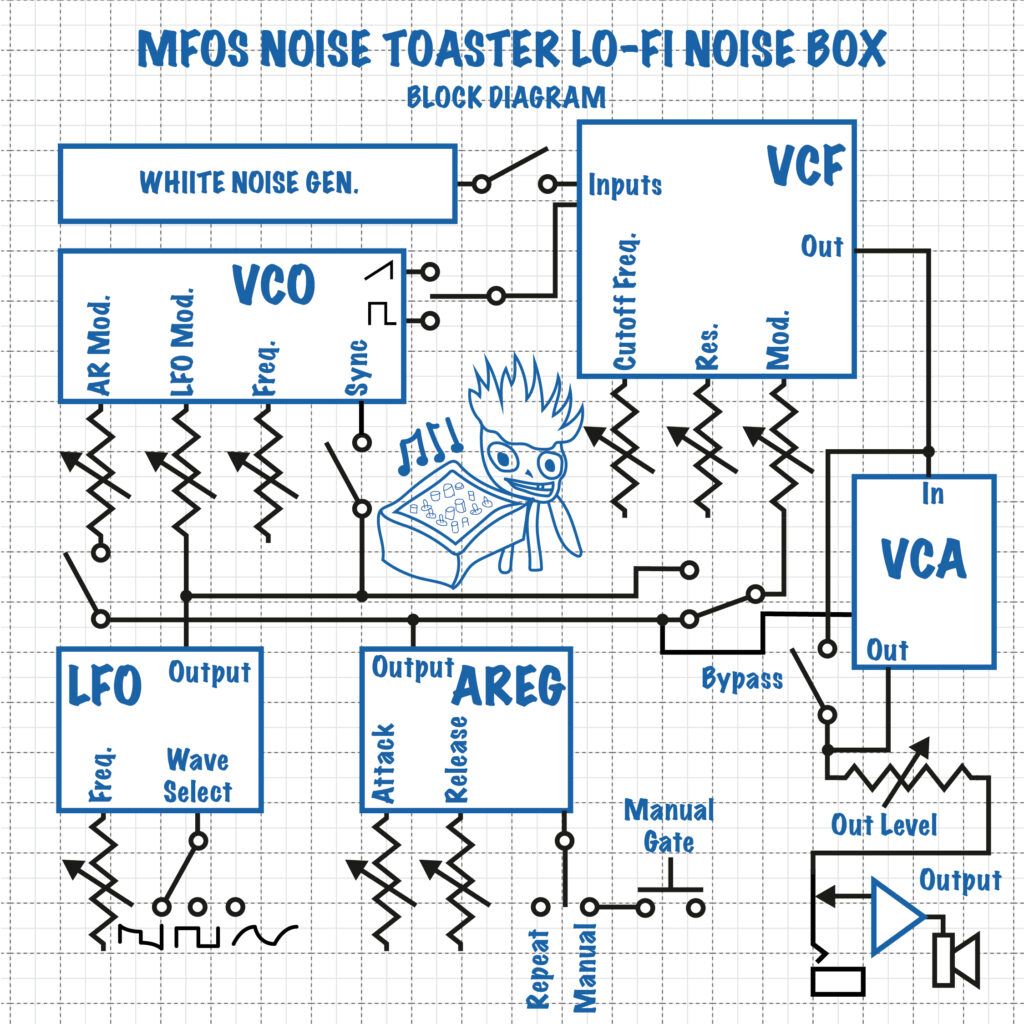
- Voltage Controlled Oscillator (VCO):
The VCO is a ramp-core type, with ramp or square wave outputs. Frequency can be set from a few Hz to around 10kHz and can be modulated by either the LFO or AREG outputs. The Sync switch can be closed to cause the LFO signal to “reset” the VCO. (See my previous Instagram post on synth basics)
- Low Frequency Oscillator (LFO):
The LFO can be set to output a square-wave, differentiated square-wave, or integrated square-wave within a frequency range of under 1Hz to around 200Hz. This output can be used to modulate the VCO and VCF.
- Voltage Controlled Filter (VCF):
The VCF is an active low pass filter that can have its cutoff frequency and resonance modulated by either the AREG or LFO. It takes the VCO and WNS outputs and feeds the combined and filtered signal to the VCA.
- White Noise Generator/White Noise Source (WNS):
The WNS simply acts as source of random “static” sound, which can be fed into the VCF.
- Attack Release Envelope Generator (AREG):
The AREG is used to create an adjustable “envelope” to modulate the VCO, VCF, and VCA. It can be triggered manually with the Manual Gate switch or be set to automatically repeat like an LFO.
- Voltage Controlled Amplifier (VCA):
The VCA modulates the VCF output’s amplitude using the AREG output as its control voltage. A bypass switch can be closed to turn off the VCA modulation.
- Audio Amplifier:
The Noise Toaster features a handy built in audio amplifier based on the ubiquitous LM386 IC to drive its internal speaker. A 3.5mm jack is also provided to bypass the internal amp and speaker.
Redesigning the Noise Toaster
Noise Toaster Synth PCB Layout
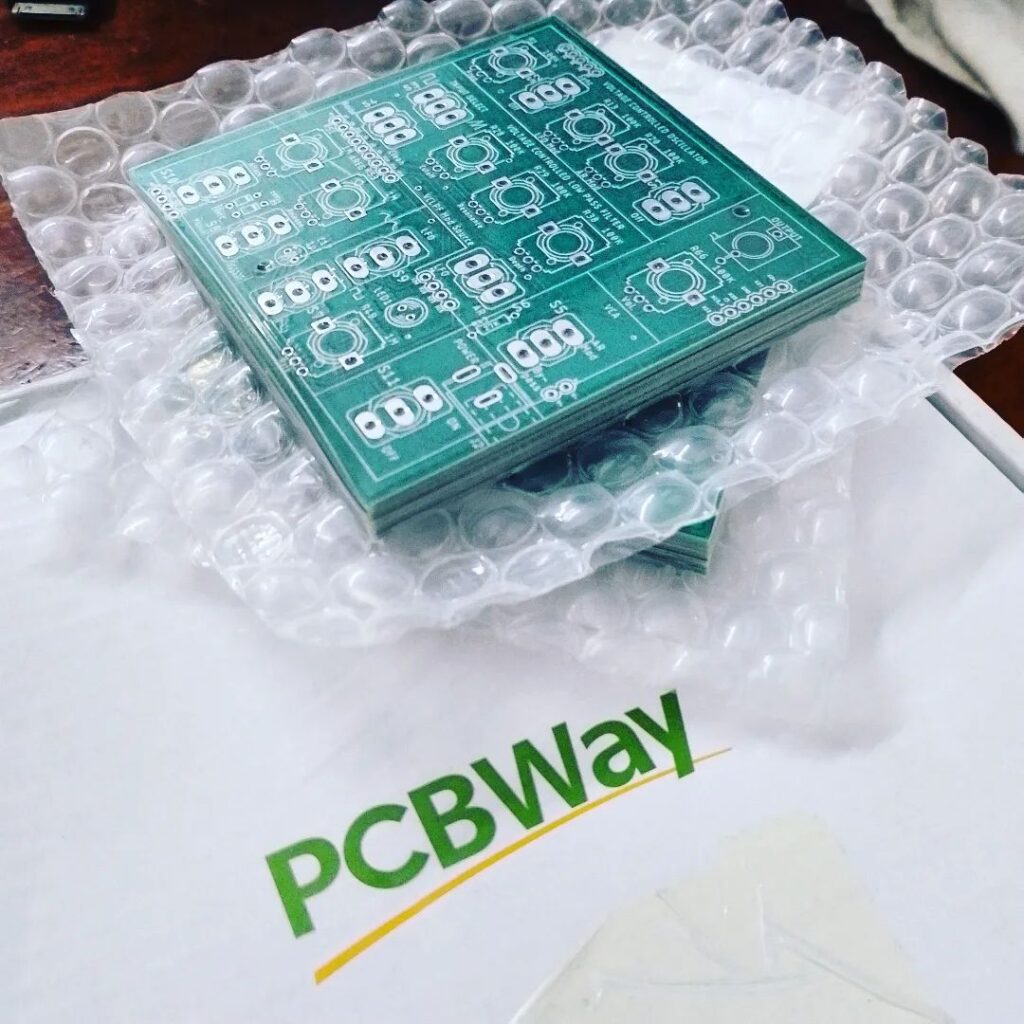
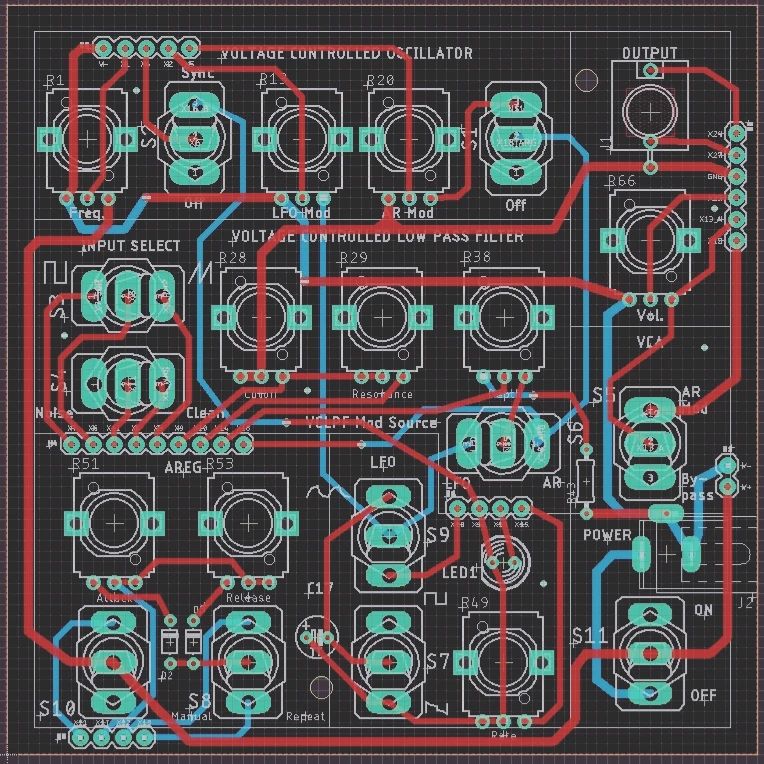
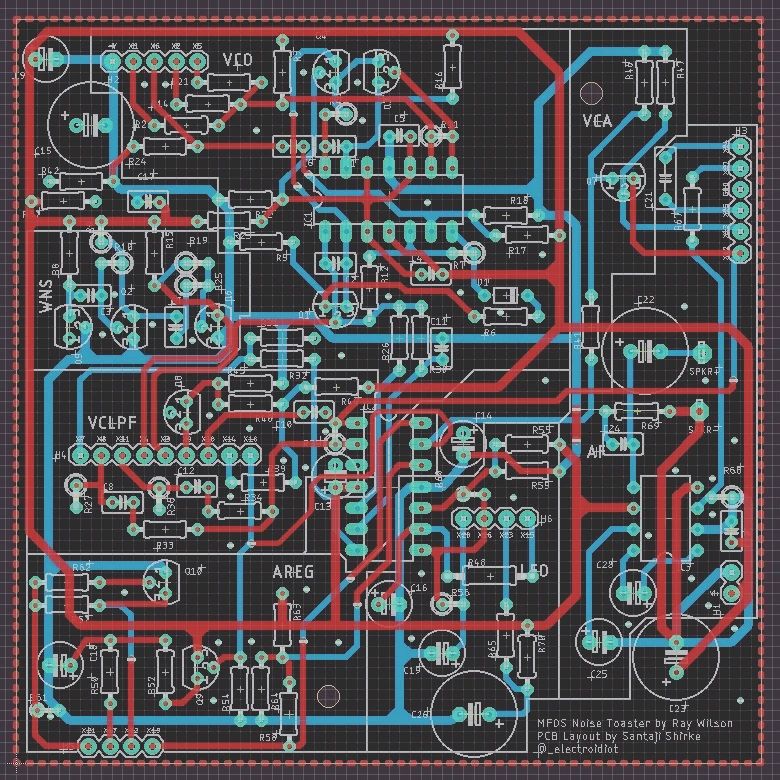
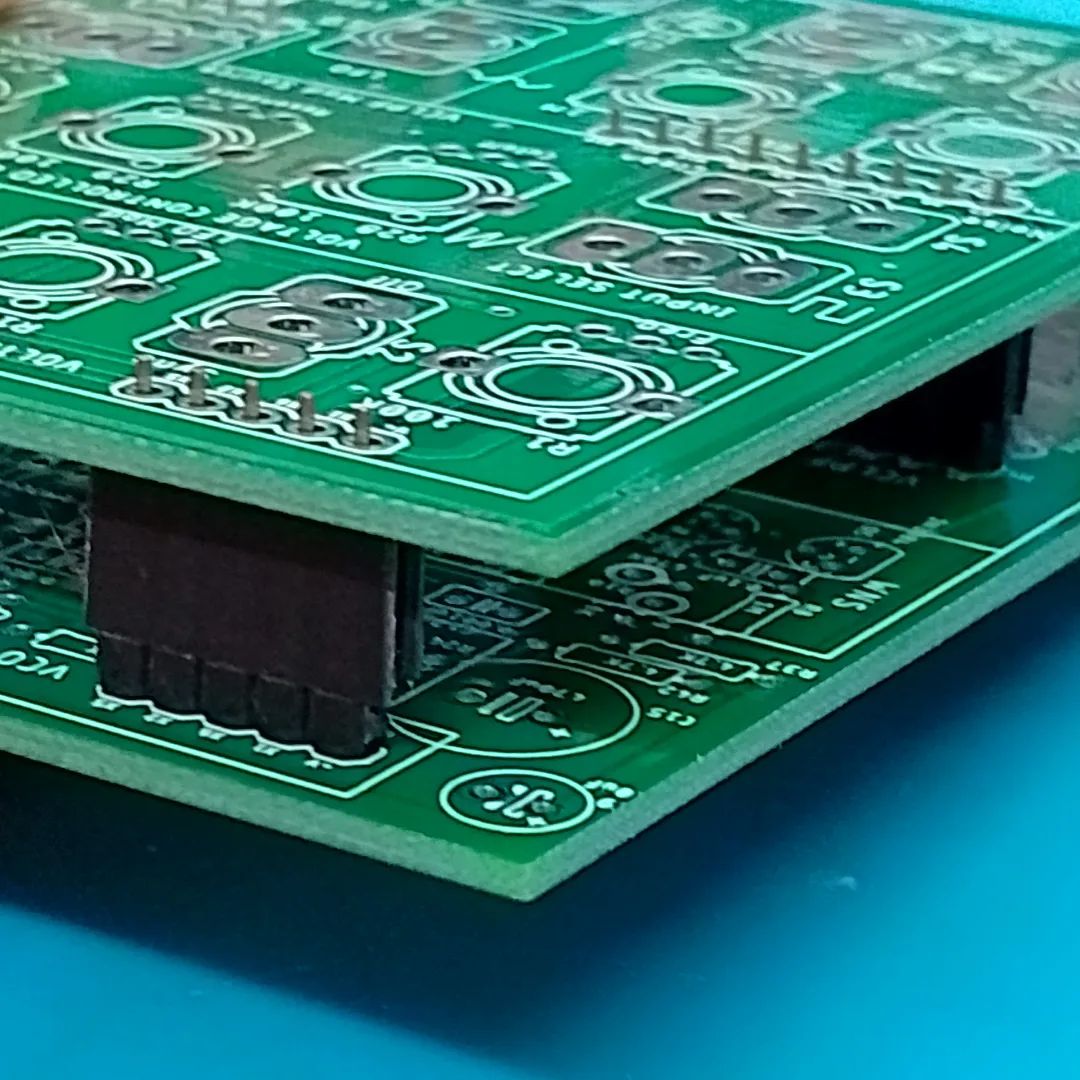
Although a PCB designed by Ray Wilson for the Noise Toaster is already available, I decided to make my own version. Mostly as an excuse to learn PCB design in Autodesk Eagle, and also because I wanted a more compact form-factor. My version of the PCB is a two board “sandwiched” design with the controls on the top-board, and everything else on the bottom. The two boards will be connected by corresponding male/female single-in-line headers.
PCBWay were kind enough to sponsor a set of boards for me. I am very pleased with the quality of the boards and the quick turn-around time. The process of uploading the Gerbers and specifying the PCB construction was very quick and easy.
Noise Toaster Synth Enclosure
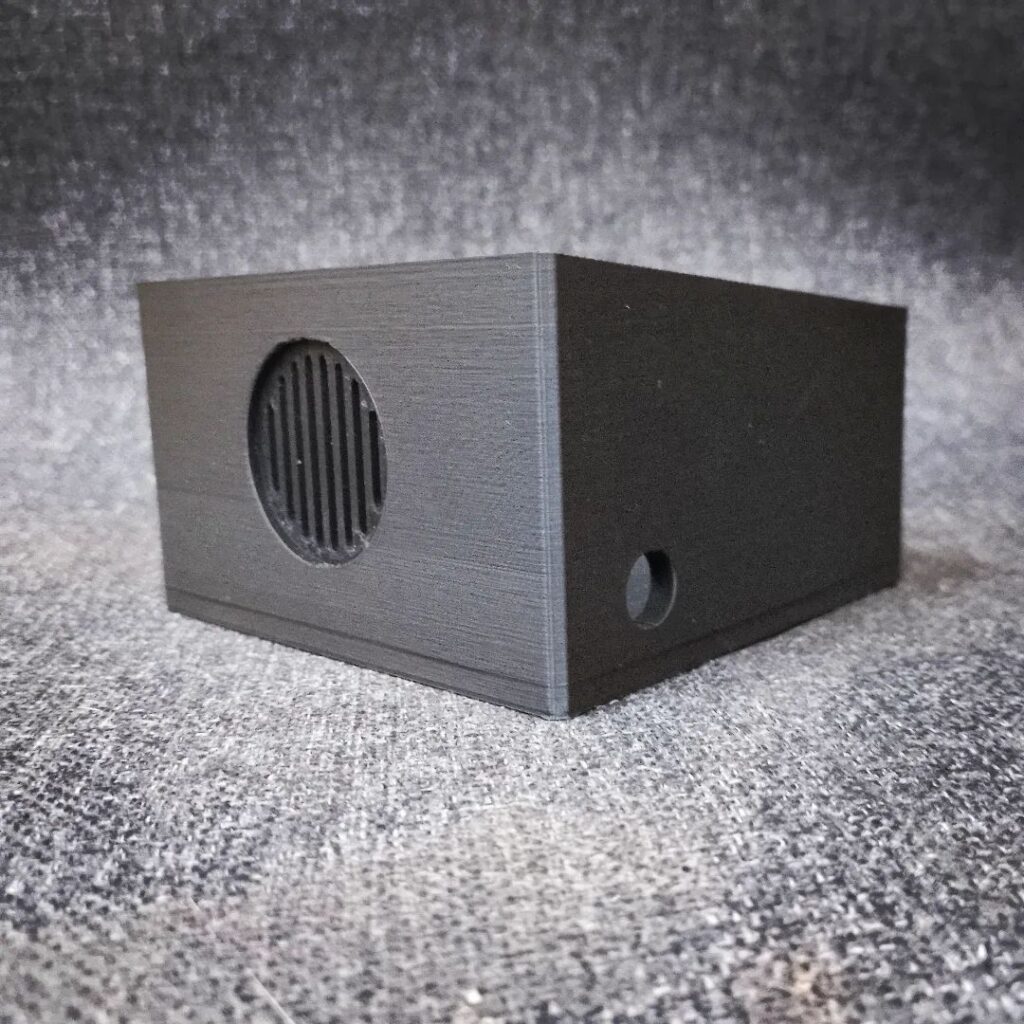
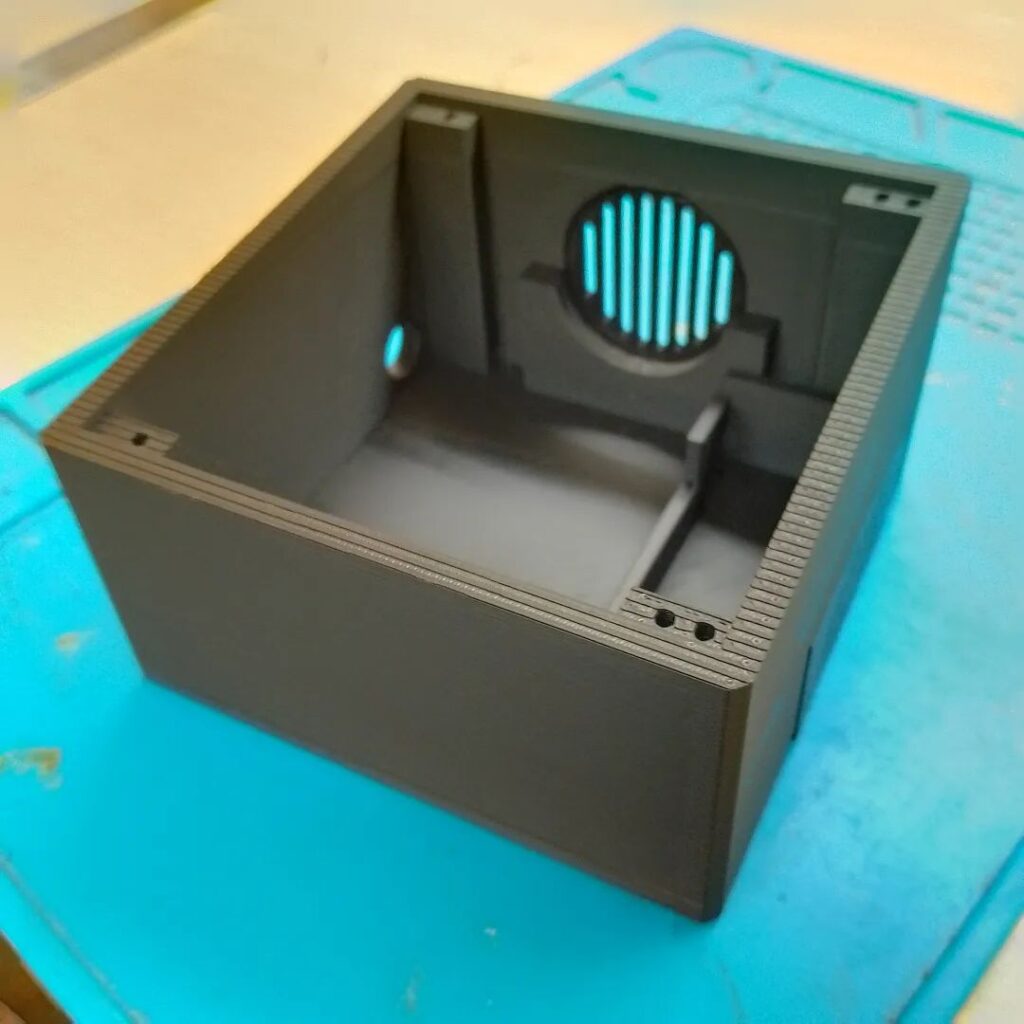
I also designed a custom enclosure for 3D printing in Fusion 360. The enclosure features a snap-fit speaker grill and battery door and was printed through Robu.in‘s online 3D printing service.
I will be building, testing, and analyzing each stage of the circuit one-by-one in the upcoming parts of this series. To stay updated, I encourage you to follow me on Instagram: @_electroidiot.
Recommended Reading
Check out following resources to learn more about the MFOS Noise Toaster:
- Make: Analog Synthesizers by Ray Wilson.
- Official Noise Toaster page on the Music from Outer Space website.
- Synth Basics post on the _electroidiot Instagram,
- Casper Electronics YouTube channel featuring an excellent series of videos on DIY synth building basics.
Other Posts in this Series
- Noise Toaster Lo-Fi Synth Build and Analysis: Part 1 – Introduction
- Noise Toaster Lo-Fi Synth Build and Analysis: Part 2 – Power Supply and Audio Power Amplifier
- Noise Toaster Lo-Fi Synth Build and Analysis: Part 3 – CV Mixer, Expo. Converter, and VCO
- Noise Toaster Lo-Fi Synth Build and Analysis: Part 4 – Low Frequency Oscillator (LFO) Circuit Analysis
- Noise Toaster Lo-Fi Synth Build and Analysis: Part 5 – Attack Release Envelope Generator


Leave a Reply